Raised garden beds have surged in popularity among home gardeners, offering a compelling blend of aesthetic appeal, ergonomic comfort, and superior growing conditions. Whether you’re dealing with poor native soil, limited mobility, or simply desire a neater, more organized garden, raised beds provide an elevated solution.
Key Benefits of Raised Garden Beds
- Improved Soil Control: This is arguably the biggest advantage. You fill raised beds with high-quality soil mixes tailored to your plants’ needs, rather than struggling with compacted, rocky, or infertile native soil. This allows for optimal drainage, aeration, and nutrient availability.
- Better Drainage: The elevated structure naturally promotes excellent drainage, preventing waterlogged roots, which is crucial for many vegetables and flowers.
- Extended Growing Season: The soil in raised beds warms up faster in spring, allowing for earlier planting. In autumn, it retains heat longer, potentially extending your harvest period.
- Weed Control: When filled with sterile, weed-free soil mix, raised beds significantly reduce weed pressure from surrounding areas. The defined edges also make weeding easier and more targeted.
- Pest Management: The elevation can deter some ground-dwelling pests. You can also more easily incorporate physical barriers like copper tape for slugs or netting for larger animals.
- Ergonomic Gardening: The raised height reduces bending and kneeling, making gardening more comfortable and accessible for individuals with back issues or limited mobility.
- Organization & Aesthetics: Raised beds create clear, attractive boundaries in your garden, providing a tidy and organized appearance. They can be built in various shapes and materials to complement your landscape design.
Setting Up Your Raised Bed
- Choose a Location: Select a spot that receives adequate sunlight (at least 6-8 hours for most vegetables) and is relatively level.
- Determine Size & Material:
- Width: Keep beds narrow enough (typically 3-4 feet) so you can reach the center easily from either side without stepping into the bed and compacting the soil.
- Length: As long as you desire, but consider lumber availability and cost.
- Height: At least 6-12 inches high is recommended for good drainage and root space. Taller beds (18-24 inches) offer greater ergonomic benefits.
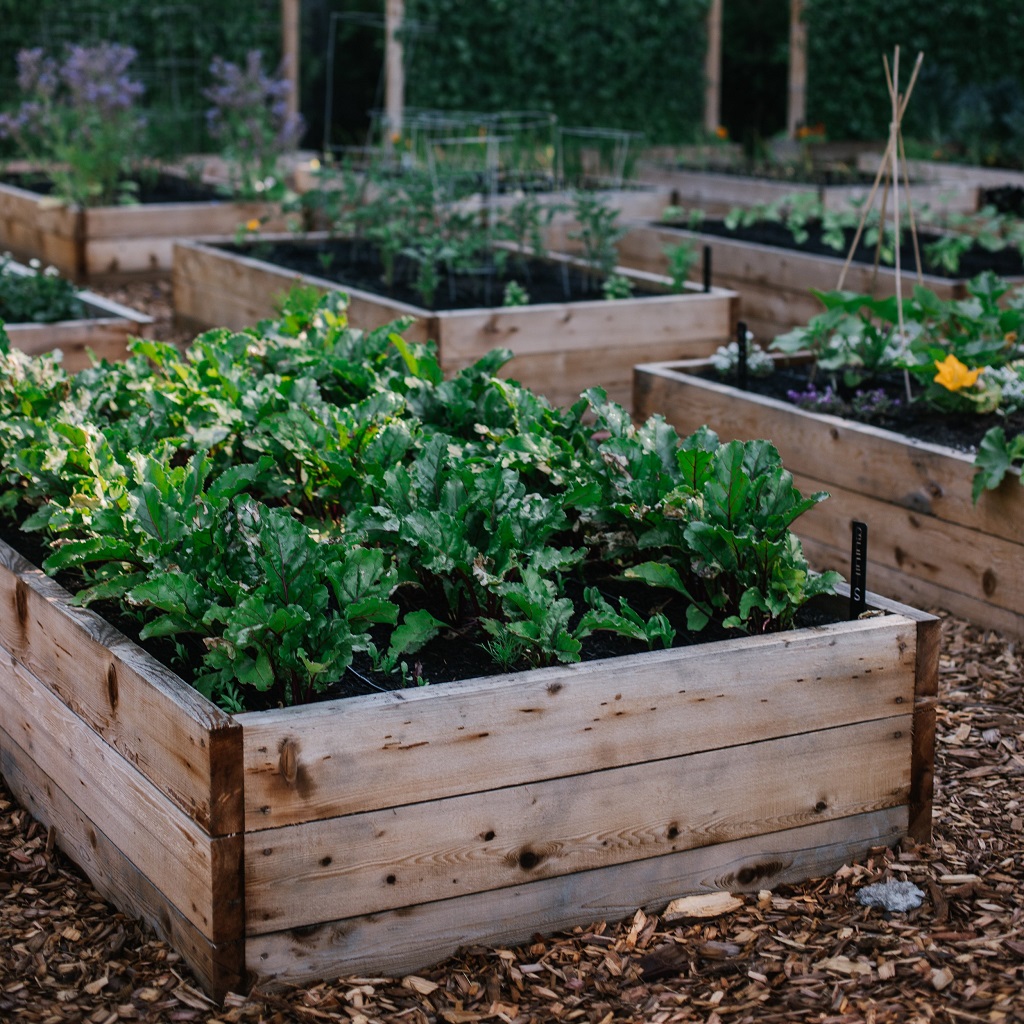
- Materials: Common choices include untreated wood (cedar, redwood, fir for longevity), stone, brick, concrete blocks, or galvanized metal. Avoid treated lumber if growing edibles, as chemicals can leach into the soil.
- Prepare the Base: Clear the area of weeds. You may choose to lay down a layer of cardboard or weed barrier fabric to prevent weeds from growing up into the bed.
- Fill with Soil Mix: This is critical. Fill with a high-quality blend, often a mix of topsoil, compost, and possibly some perlite or vermiculite for drainage. Avoid using heavy native garden soil alone.
- Install & Plant: Assemble your chosen material into a sturdy frame. Then, it’s time to fill with your rich soil mix and begin planting your chosen crops or ornamentals.
Raised beds offer a controlled and efficient gardening environment, making them an excellent choice for both novice and experienced gardeners seeking convenience, productivity, and aesthetic appeal.
Leave a Reply